
Implementing Payments
A guide on how to implement IAPs in your game
In this article, you'll learn how to implement payments using PaymentsKit. In no time players in your game will easily be able to make purchases of items, cosmetics, currencies, or anything else you want to offer them.
Read more about payments and purchases on Pley.
Looking to test payments on Pley? Read the payment test documentation how-to here!
Wondering how to create products in the Game Manager? Read here.
How-to Implement Pley Payments
1) Create a product (how-to).
2) Display the product in your game.
3) Request a purchase in the game code.
4) Consume entitlements in your backend, validating the purchase.
5) Grant the item to the player.
6) Add in an entitlement check whenever the web game starts.
(1) Creating products in Game Manager
Article: Create products in the Game Manager
Article: Import products from Google Play
(2) Displaying a product in-game
API ReferencesYou can find the methods for PaymentsKit in the references for the Unity SDK and for the C SDK.
Now that we've set up a product, the next step is to show the product to the user so they can buy it. Here, we'll look at how you can obtain the information from Pley so you can use it in your game UI.
The main piece of information you'd need from Pley is the price, so let's request a product price:
// Remember to initialize the SDK first.
// using Pley;
private string[] productIds =
{
    "ff148434-9d1c-11eb-b2d9-c7e44343d0cd"
};
private async void RequestProductPriceFromPley()
{
	// We tell Pley to send us the product ID
  var (result, data) = await Pley.PaymentsKit.GetProductsAsync(productIds);

	if(result.IsOk())
  {
    // We then pass the price data and the information to the game so it displays it for the player
    DisplayItem(itemName, itemDescription, data[0].ToString());
  }
  else
  {
    Debug.Log($"Error occured when fetching price information: {result}");
  }
}
Here is a coding recipe that walks you through the process of implementing price fetching using Pley!
What is price.ToString()
price.ToString()combines the price and currency into one string. So in our example, it would say "3.99 Currency" where "Currency" in this case is replaced with your regional currency (USD, Euro, etc...).If you want to get the price amount and the currency separately, you can then use
price.Amountfor the amount itself andprice.CurrencyISO4217for the currency itself.
Next, the player will probably want to buy the item, so we need to request a payment.
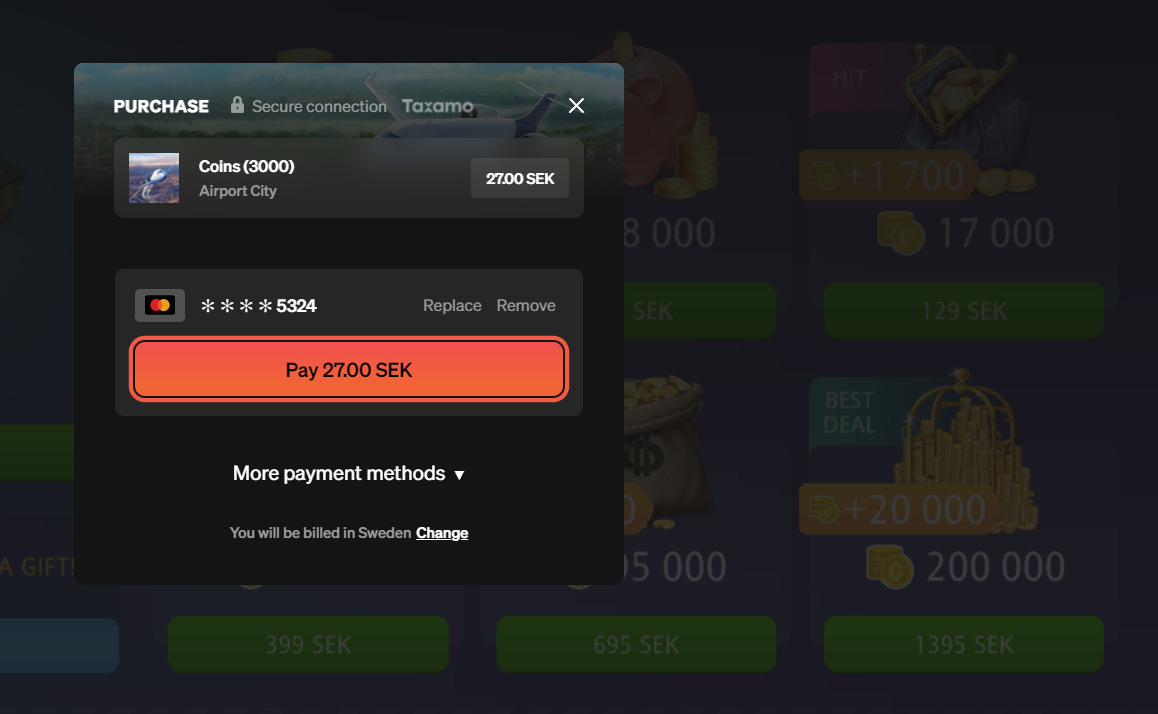
(3) Requesting a payment in Game Code
Let's return to Unity and request payment when your players click the purchase button.
// Remember to initialize the SDK first.
// using Pley;

string productId = "ff148434-9d1c-11eb-b2d9-c7e44343d0cd";
// Calling the method below will show the payment dialog to the user.
var (result, data) = await Pley.PaymentsKit.RequestPaymentAsync(productId);

// First, check that there was not unexpected error.
if (result.IsOk())
{
  // The function below is just a placeholder.
  // You will have to replace it with the method you use
  // to send entitlements to your backend.
  MyGameBackend.ConsumeEntitlement(data.entitlementId);
}
else
{
  Debug.LogError($"Payment Error: {result}");
}
We send a RequestPayment using the payment ID. Once it is done, the callback RequestPaymentCallback will run. If RequestPayment returns an 'Ok', we report it to our back end. Finally, you receive both the orderID and entitlementID in the callback. If not, we print the error out for debug purposes.
(4) - (5) Consuming the Entitlement to Validate Purchase
Buying a product produces an entitlement (a receipt stating the player's ownership of the items bought). Your game server can consume this (using HTTP to Pley) to verify that a purchase has been made and granted to the player. This means the game server validates the purchase.
- The user makes a purchase in-game. The game client receives an
entitlement_idfrom the Pley SDK. - The game client must send this
entitlement_idto the game server - The game server "consumes" that entitlement over
HTTP cURL POSTHTTP API Reference. - Once an OK is returned, the game should grant the items to the player.
Consuming a product is done through an HTTP cURL post:
curl \
-X POST \
--location 'https://api.pley.com/v2/payments-kit/consume-entitlement' \
--header 'Content-Type: application/json' \
--header 'Authorization: Bearer <YOUR_API_TOKEN>' \
--data-raw '{
    "entitlement_id": "00000000-0000-0000-0000-000000000000"
}'
Article: 💰 Monetization on Pley
Finally: Complete the Purchase✅ Purchase initiated
✅ Entitlement consumed (purchase validated)
➡️ Grant the player the item.
Give the player the item. It should be done in the same way as it is handled on iOS and Android.
(6) Resolving unconsumed entitlements
Sometimes, entitlement doesn't get consumed (e.g., internet connectivity issues, crashes, or the user quits early). Always checks if there are any unconsumed entitlements on startup. If there are, resolve them.
- On game startup, check if there are unconsumed entitlements.
- If there are any, consume the entitlements through the game server (same as above).
- Grant the players the items.
To check for unconsumed entitlements, use the following SDK method:
// Call the following method as soon as the game has booted
// and the SDK initialized.
// using Pley;

var (result, entitlements) = await Pley.PaymentsKit.GetEntitlementsAsync();
// First, check that there was not unexpected error.
if (result.IsOk())
{
  // The function below is just a placeholder.
  // You will have to replace it with the  method you use
  // to send entitlements to your backend.
  MyGameBackend.ConsumeEntitlements(entitlements);
}
else
{
  Debug.LogError($"Something went wrong: {result}");
}
For Games with basic or no backend
Not all games have servers that can do HTTP cURL requests or validate custom-store purchases server-side. For games with only a database and some server functions, the game logic can be very local.
For locally operated games, Pley provides a simple way of consuming entitlements client-side. However, this method is much less secure and is not recommended. Purchases may be lost, transactions are less secure, and it is overall less reliable.
Pley highly recommends handling purchases server-side. However, if that is not an option, entitlements can be consumed client-side:
Article: How to enable and use the dangerous SDK methods for local games
Updated 10 months ago